
Pflugerville Epoxy Flooring installs epoxy garage floor systems throughout Pflugerville, TX and the surrounding cities including Wells Branch, Round Rock, Manor, Hutto and Brushy Creek, and we have been doing it here for more than 20 years. That is long enough to have returned to garages we coated a decade ago and to know which of our own details survived the ground they were poured on.
A garage floor is the hardest coating job in a house, and not because of the resin. It is the one slab in the building that is unheated, uninsulated, sits directly on grade, gets a car parked on it while the tires are still warm, and takes whatever the season is doing to the soil beneath it. Everything that goes wrong with garage coatings traces back to one of those five things rather than to the color you picked.
So our estimate starts underneath. We establish what the slab is standing on, whether the cracks in it are finished moving, how much water vapor is coming up through it, and how tightly the surface was troweled shut, and only then do we specify a system and a price. A quote written without those four answers is a guess wearing a number.
What We Find Out Before Quoting Your Garage
Soil Series, Plasticity and What the Slab Is Standing On
Central Texas garages sit on wildly different ground within a short drive. Shrink-swell is the leading engineering limitation across most of the Blackland side of our service area, where smectitic clays with a high plasticity index take on water and expand, then give it up and contract. On the western edge, slope and shallow bedrock lead instead. Knowing which one you have tells us whether the crack plan needs to accommodate movement or simply close a finished crack, and that single answer changes the specification more than any product choice does.
Moisture Vapor Emission and Relative Humidity in the Slab
Concrete passes water vapor for its entire life, and a garage slab does it with less protection than any other slab in the house. We measure rather than estimate: ASTM F1869 calcium chloride puts a number on the emission rate in pounds per thousand square feet per day, ASTM F2170 probes read the relative humidity inside the slab itself, and ASTM D4263 is the quick plastic-sheet screen. The results get read against ASTM F710 thresholds, and if they are high the answer is a moisture-mitigation primer written into the scope rather than a phone call after the floor bubbles.
Surface Hardness, Trowel Finish and Existing Coatings
A production builder’s garage slab is usually power-troweled to a hard, closed, almost burnished surface, and many have a curing compound or sealer still sitting on them. Neither will accept a coating. We check hardness with a scratch test and look for sealer with a water-bead check, because both determine which grinding tooling comes off the truck. Diamond segment bond hardness has to be matched inversely to the concrete: soft bond on hard concrete, hard bond on soft, or the tooling glazes over and stops cutting.
Epoxy Garage Floor Systems We Install
Full Broadcast Vinyl Flake Over 100% Solids Epoxy
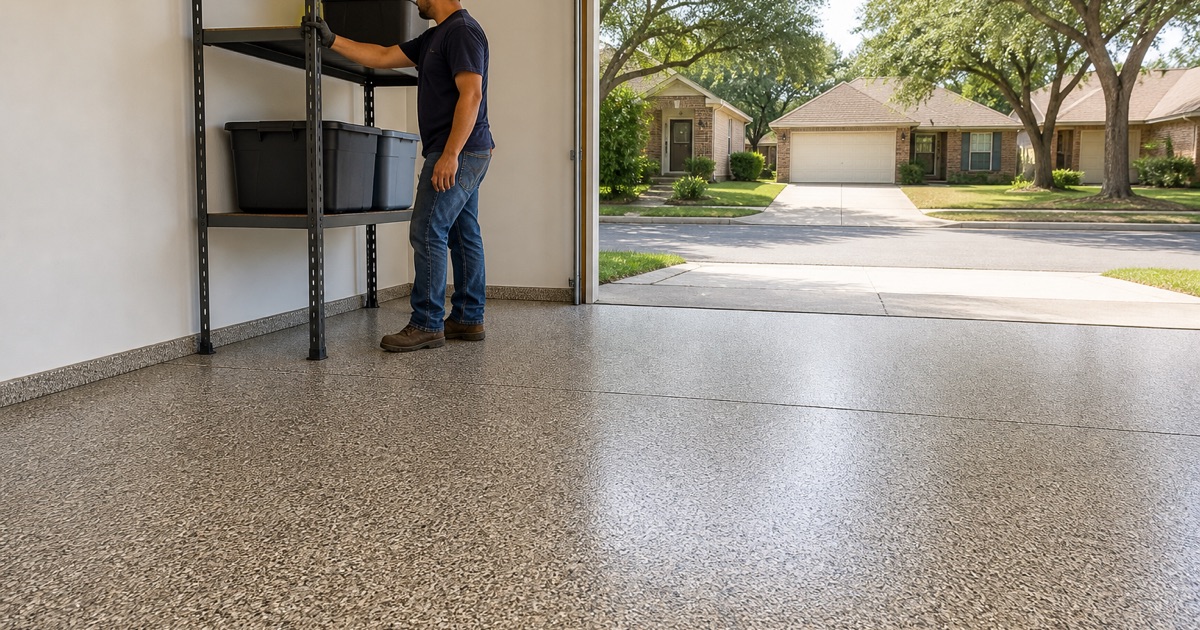
This is the system most Pflugerville garages get. A pigmented 100% solids epoxy body coat goes down and vinyl flake is broadcast into it to refusal, so the chip covers the base completely, then two clear topcoats lock it in and fill between the chips. The texture it leaves is comfortable underfoot but grips when wet, the chip hides dust and small imperfections in the slab, and the built thickness is what makes it survive a car rather than the hardness of any one layer.
Solid Color Epoxy With a Polyaspartic Topcoat
Where the garage is a workshop rather than a showpiece, a solid color body coat under a polyaspartic topcoat is often the better answer. It shows a fluid leak the day it starts, cleans with a mop rather than a scrub, and the polyaspartic holds its color where an epoxy topcoat would amber under a west-facing door. It also cures back to vehicle traffic faster, which matters when the garage is the only place the car goes.
Quartz and Metallic Systems in a Residential Garage
Quartz aggregate broadcast builds a thicker, more aggressive floor that suits a garage doubling as a gym or a wash bay, and colored ceramic-coated quartz delivers slip resistance and color in one operation. Metallic epoxy makes a marbled floor for a display garage, and it is worth being blunt about the tradeoff: metallic is unforgiving of a slab that is not flat and it shows every stop the crew makes, so it needs a level floor and a schedule that does not get interrupted.
Our Step-by-Step Epoxy Garage Floor Process
Step 1: Slab Assessment and Written Proposal
We walk the slab, map the cracks and joints, test moisture, check for sealer, and note the threshold, the step-down and any drains. The proposal that comes back names the product, the coat-by-coat system build and the finished mil thickness, plus anything conditional such as mitigation or patching, so nothing appears on an invoice that was not on the estimate.
Step 2: Mechanical Profile, Never an Acid Etch
The slab is opened with a diamond grinder or a shot blaster to an ICRI CSP profile appropriate to the coating thickness. We do not acid etch, because acid removes very little of a troweled surface, leaves salts behind that have to be neutralized and rinsed, and puts water into the slab immediately before you want it dry. Grinding takes the closed surface off and leaves a clean, dry, mechanically keyed profile.
Step 3: Crack, Joint and Repair Detail
Working cracks are routed out and filled with a semi-rigid polyurea that flexes with the slab. Settled cracks and spalls get a rigid epoxy or cementitious patch ground flush. Control joints are either honored through the finished floor or filled to the specification, and we tell you which before we start rather than making the decision with a bucket in hand.
Step 4: Primer, Body Coat and Broadcast
The primer, moisture-mitigating where the readings called for it, goes down first. The pigmented body coat follows within the product’s recoat window, and where the system carries flake or quartz the broadcast goes into it while it is still wet. Pot life is short at Central Texas summer slab temperatures, so we mix in half batches with a dedicated mixer and two spreaders rather than betting a whole floor on one pail.
Step 5: Topcoats, Cure and Handover
Excess broadcast is scraped and vacuumed, then the clear topcoats go on to the specified build. We give you a foot-traffic date and a separate, later vehicle date, because a topcoat that feels hard underfoot has not finished cross-linking and a warm tire on it is exactly how hot tire pickup starts. Handover includes the product data sheets for what actually went down.
What Decides How Long a Garage Floor Lasts
Mil Build, Not the Name on the Bucket
Two floors sold as the same product can differ by half their material, because spread rate is what sets thickness and thickness is what carries the load. We quote a finished mil build and record the material used against the square footage, so the number can be checked. A thin coat of an excellent product wears through faster than a properly built coat of an ordinary one.
Dew Point at the Slab, Not the Air Temperature
Concrete lags air temperature, so on a humid Central Texas morning the slab can be at or below dew point while the air reads comfortable. Coating then traps condensation and amine blush under the film and costs it adhesion. The rule is 5 degrees above dew point measured at the surface, which is why our summer crews start mid-morning once the spread has opened rather than at first light.
Cure Time Before the Car Comes Back
The most common way a new garage floor is damaged is being driven on too early. Full chemical cure runs days behind the point at which the surface feels solid, and a warm tire on a floor that has not finished is the classic cause of a lifted patch. We give the date in writing, and we would rather you were annoyed about waiting than disappointed about a repair.
- 20+ Years in Central Texas
- Insured & Workers Comp Covered
- Free Written Estimates